Adding a New User to Your Account — Test results
2026-08-27T14:52:22Z by Showboat 0.6.1
Supporting detail for the feature demo.
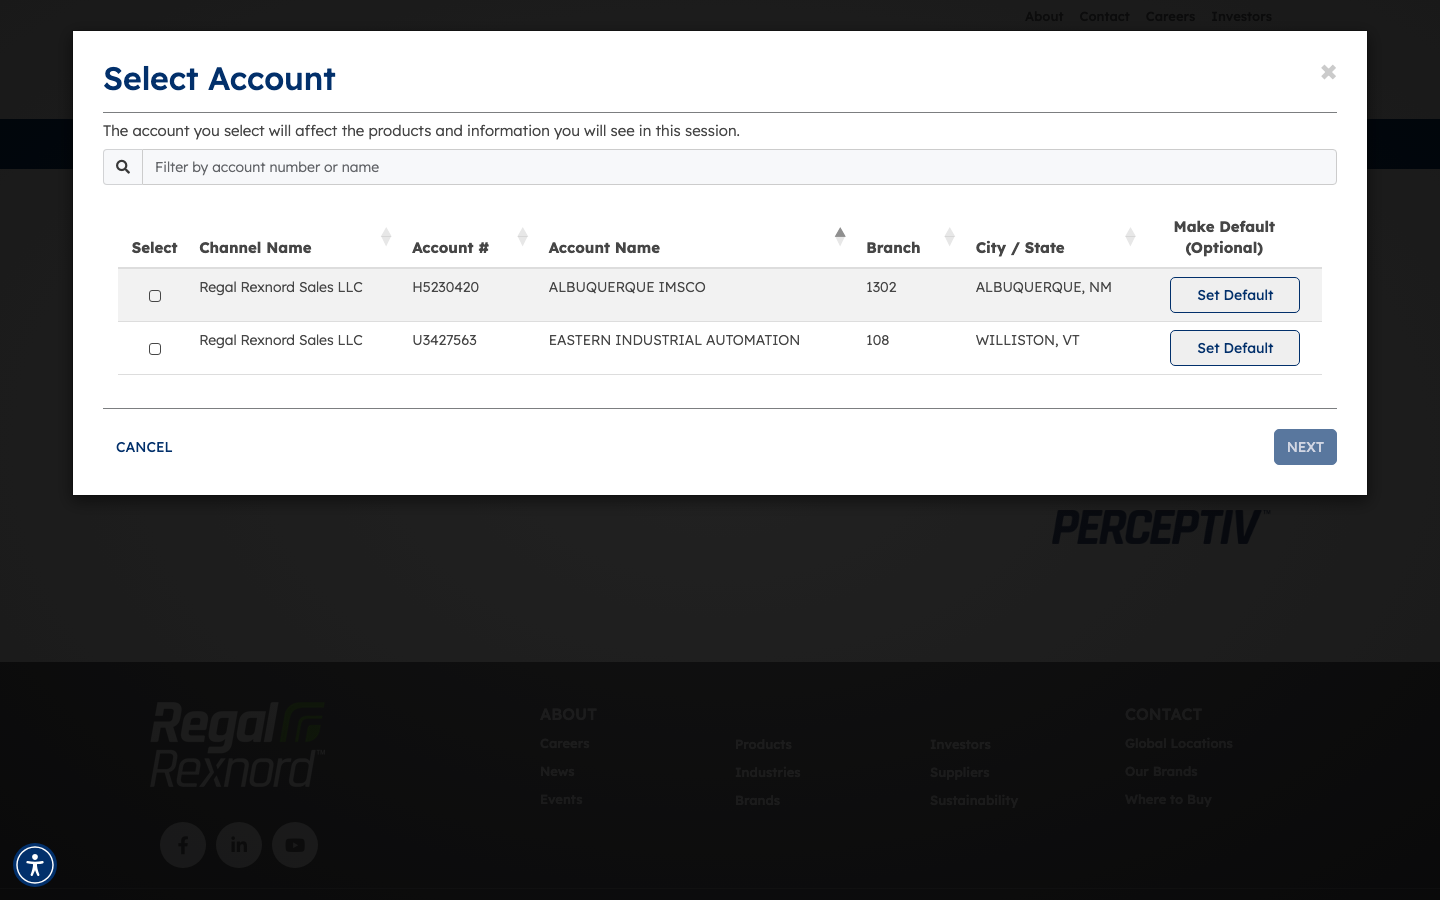
After signing in, the Select Account modal appears. User Management is account-scoped, so select the account that grants administrative access — U3427563 / EASTERN INDUSTRIAL AUTOMATION — then click NEXT and choose the Primary Address on the following Select Shipping Address step.
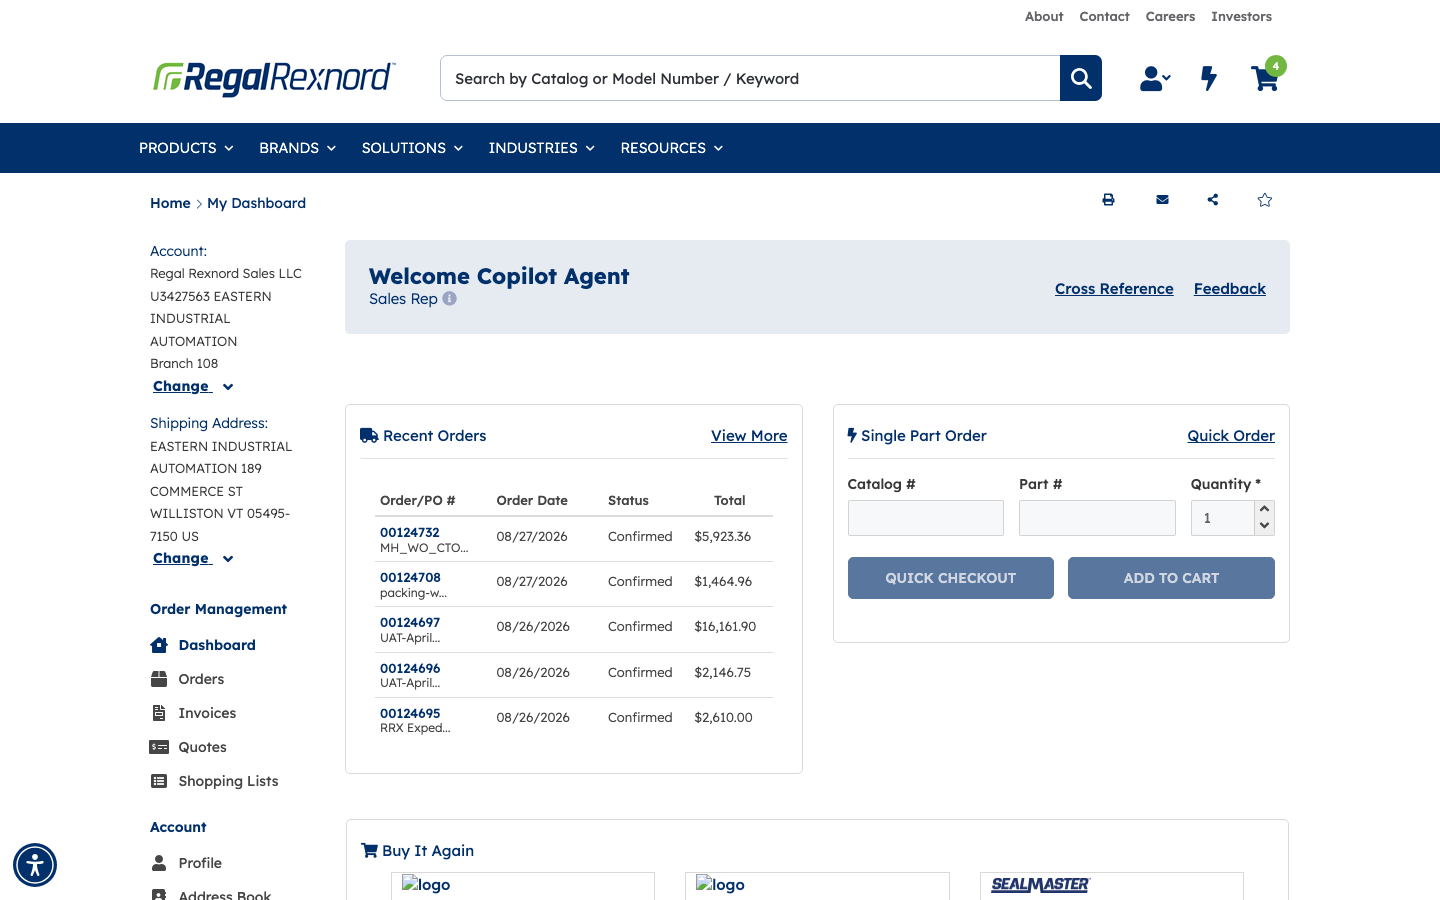
The Dashboard loads at https://uatwww.rrxpreview.com/accountmanagement. The header reads Welcome Copilot Agent, confirming the signed-in user, and the left-hand Account navigation now includes a Users entry for account U3427563 EASTERN INDUSTRIAL AUTOMATION.
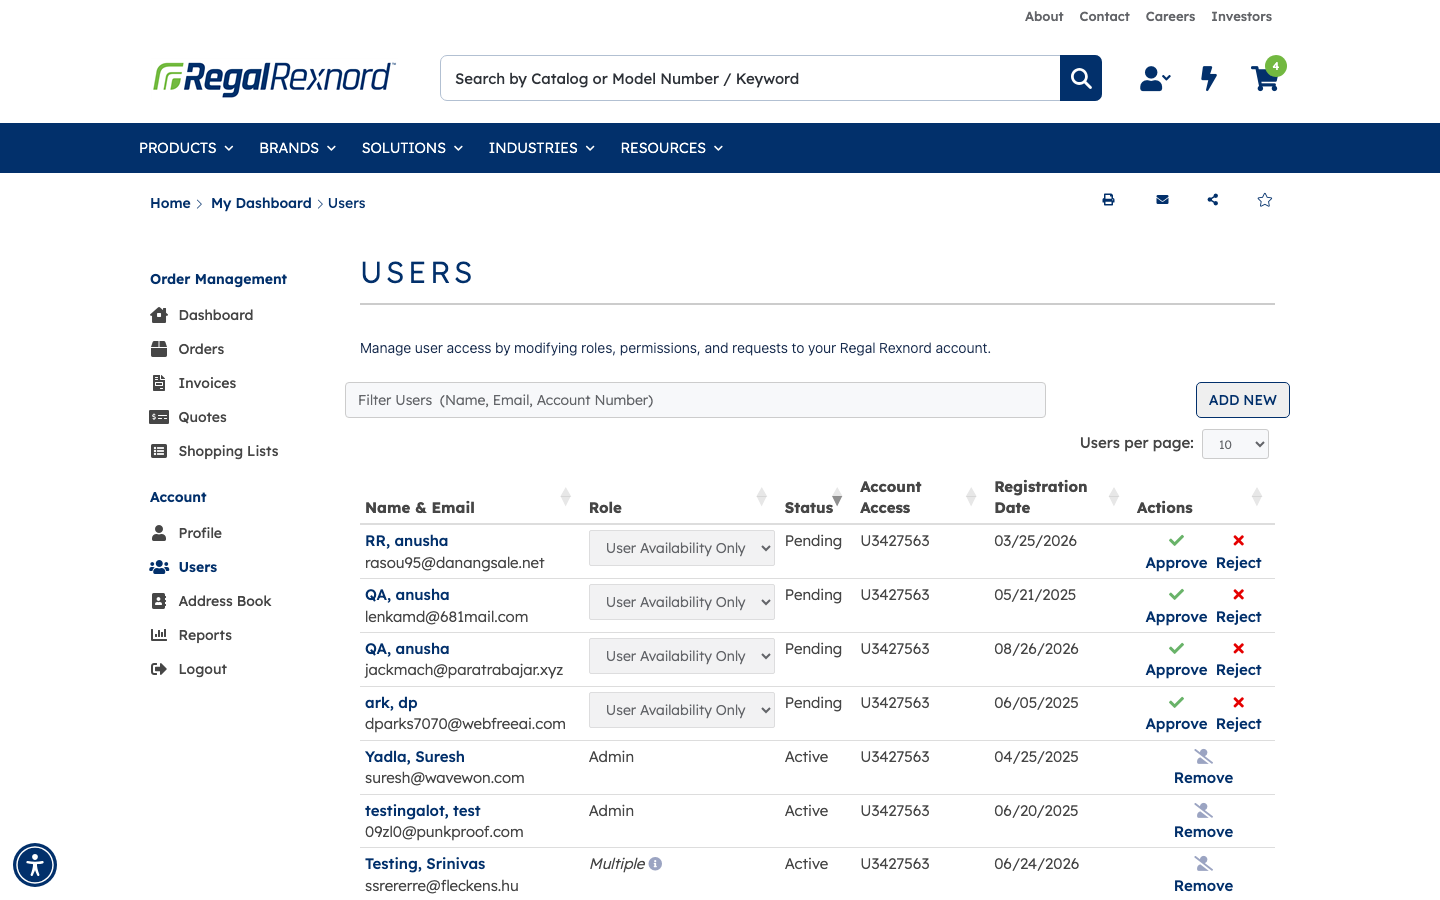
Step 1 — Open the Users page
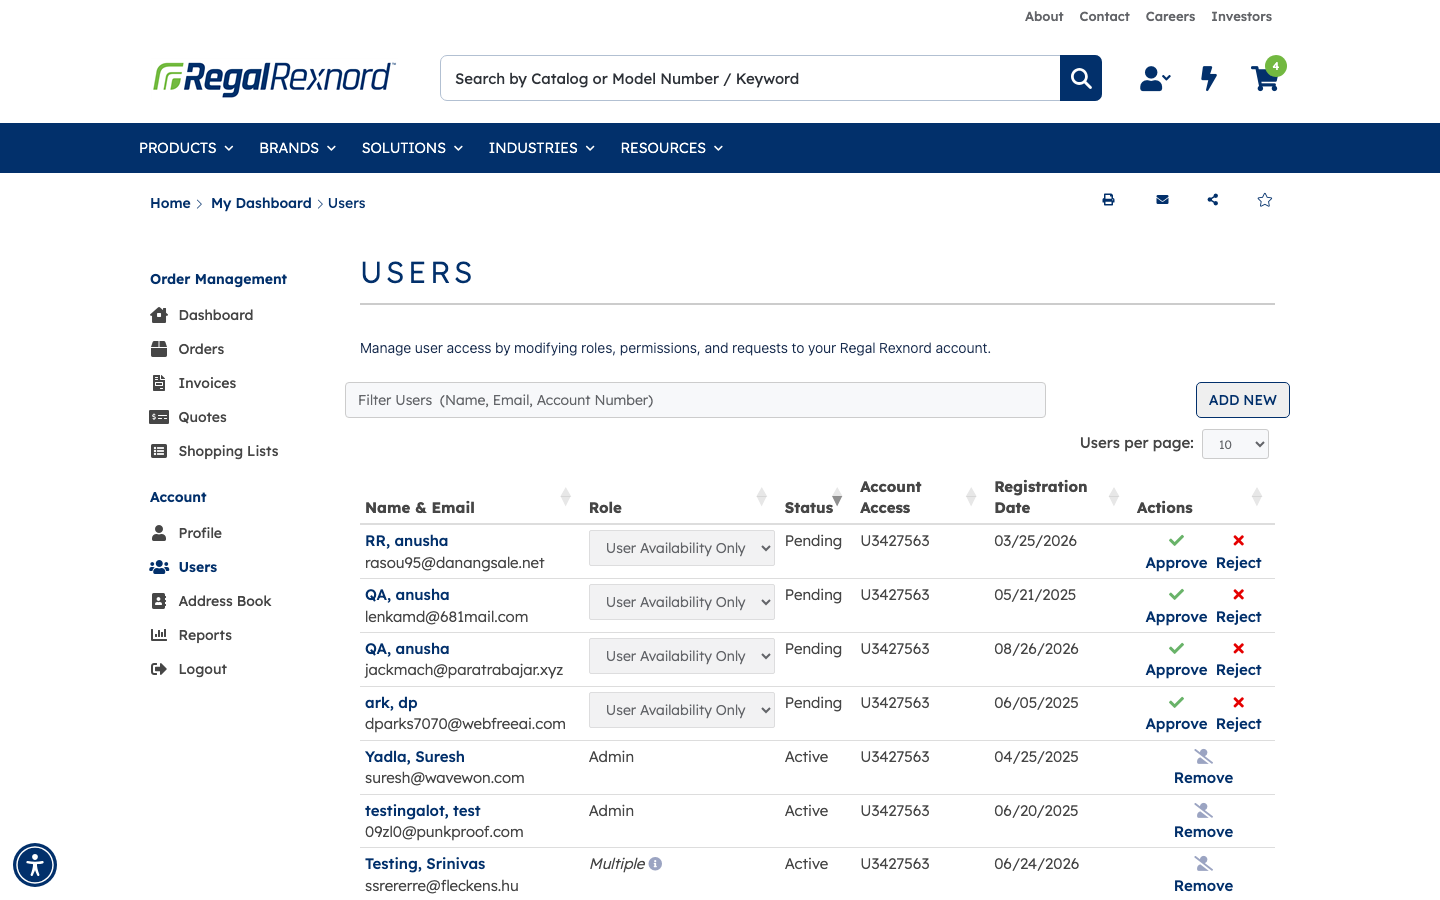
From the Dashboard, select Users in the left-hand Account navigation (https://uatwww.rrxpreview.com/accountmanagement/users). The page lists every user with access to account U3427563, showing each user's name/email, role, status, account access and registration date. This is the before state — note that no user with the email test999@test999.com is present.
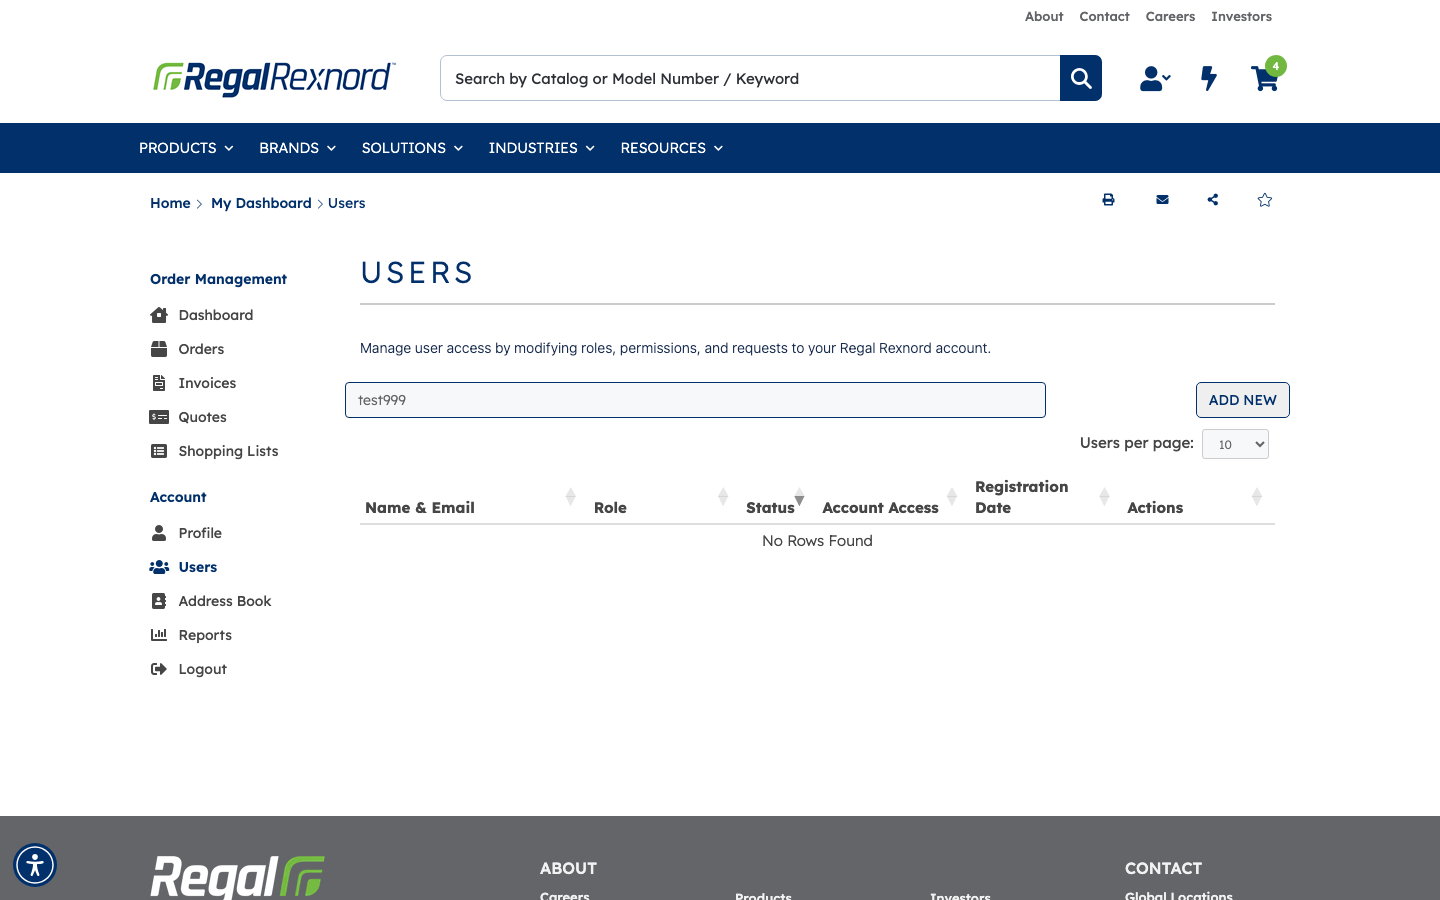
Step 2 — Confirm the user does not already exist
Type test999 into the Filter Users (Name, Email, Account Number) box. The grid returns No Rows Found, confirming no user with the email test999@test999.com currently has access to this account.
Step 3 — Open the Add New User form
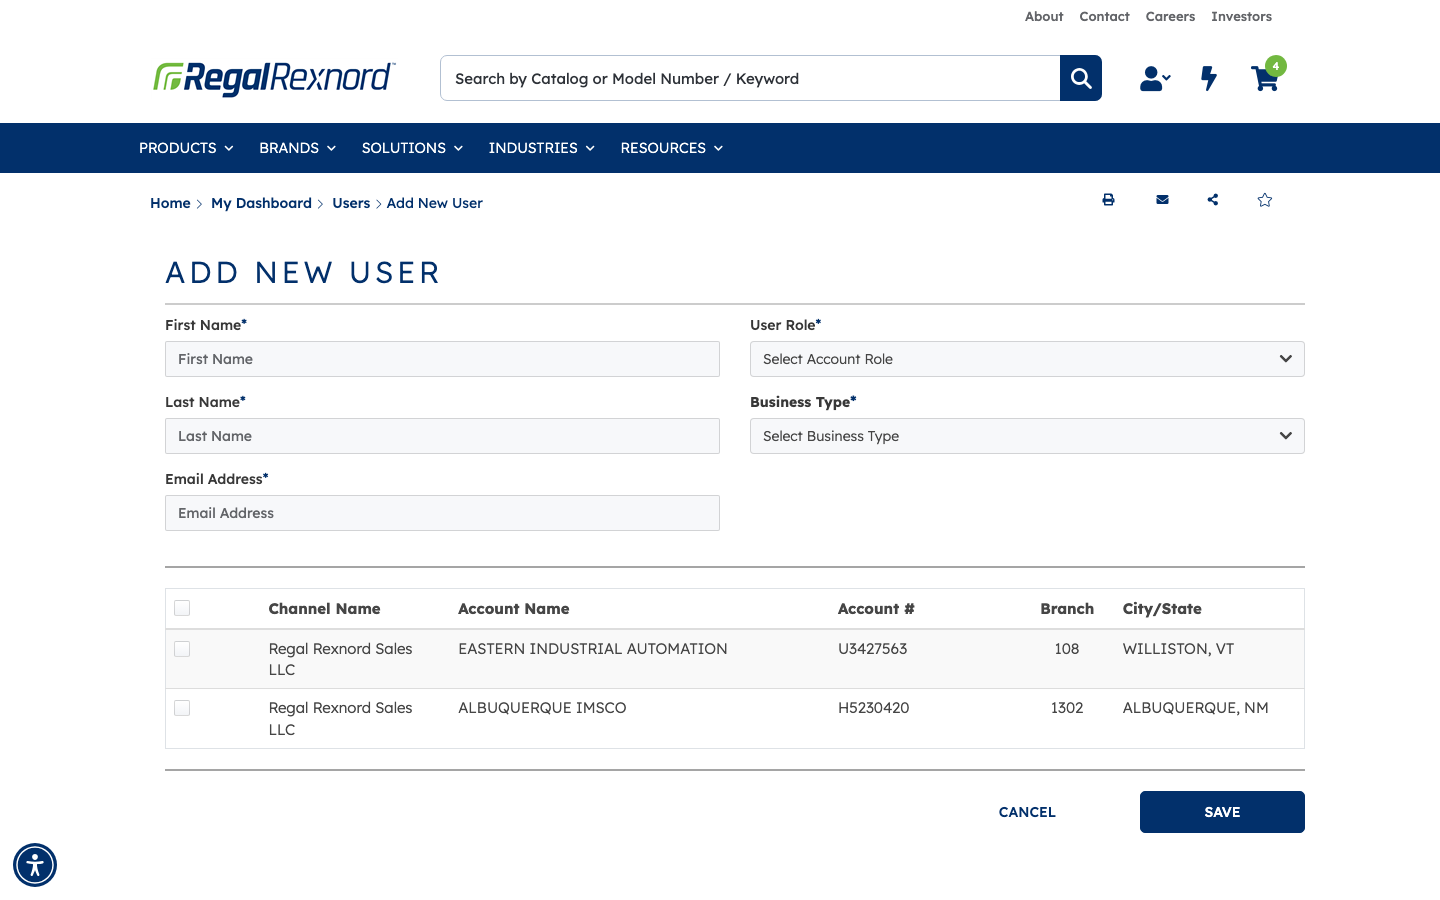
Click ADD NEW on the Users page. The Add New User form opens at https://uatwww.rrxpreview.com/account-management/users/add-new-user with required fields for First Name, Last Name, Email Address, User Role and Business Type, plus a table of accounts the new user can be granted access to.
Step 4 — Enter the new user's details
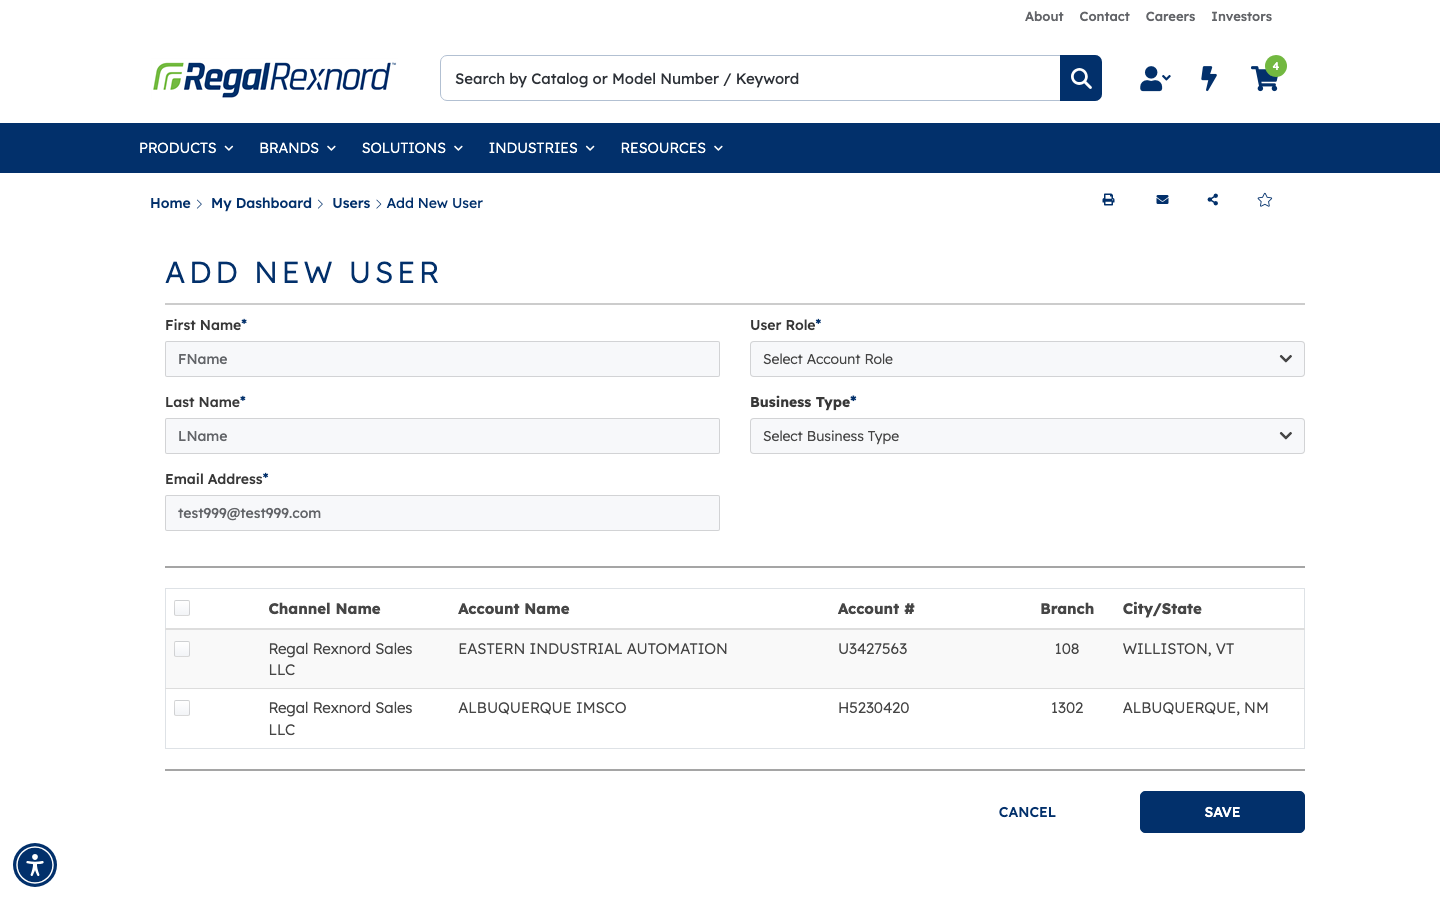
Fill in First Name = FName, Last Name = LName and Email Address = test999@test999.com. No "email already exists" or "email already registered" validation message appears, so the address is available.
Step 5 — Choose the user's role and business type
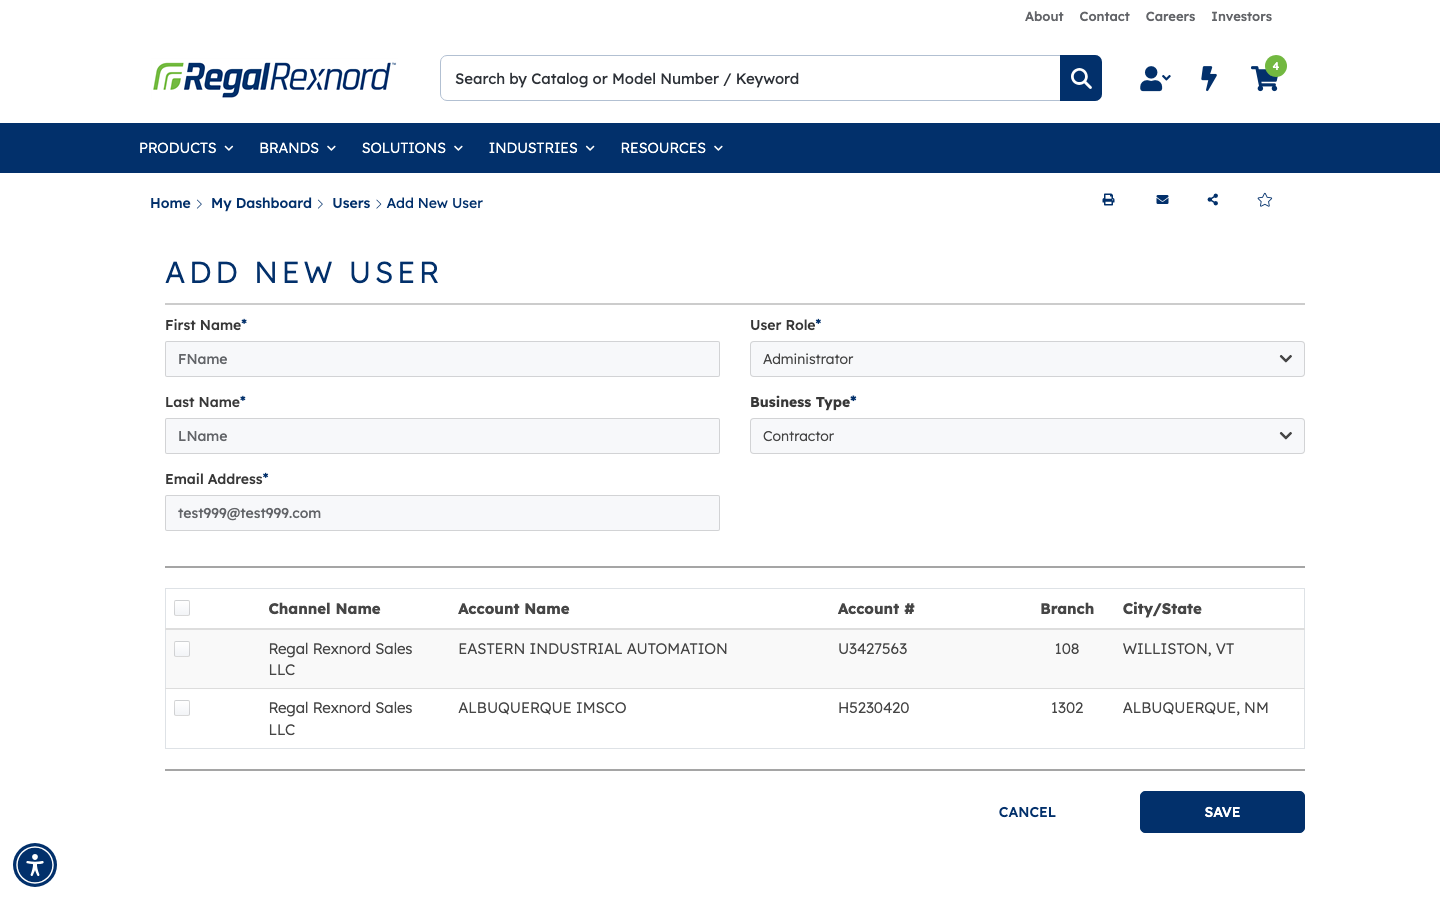
Select the first available option in each dropdown: User Role = Administrator (determines what the new user can do on the site) and Business Type = Contractor.
Step 6 — Assign account access
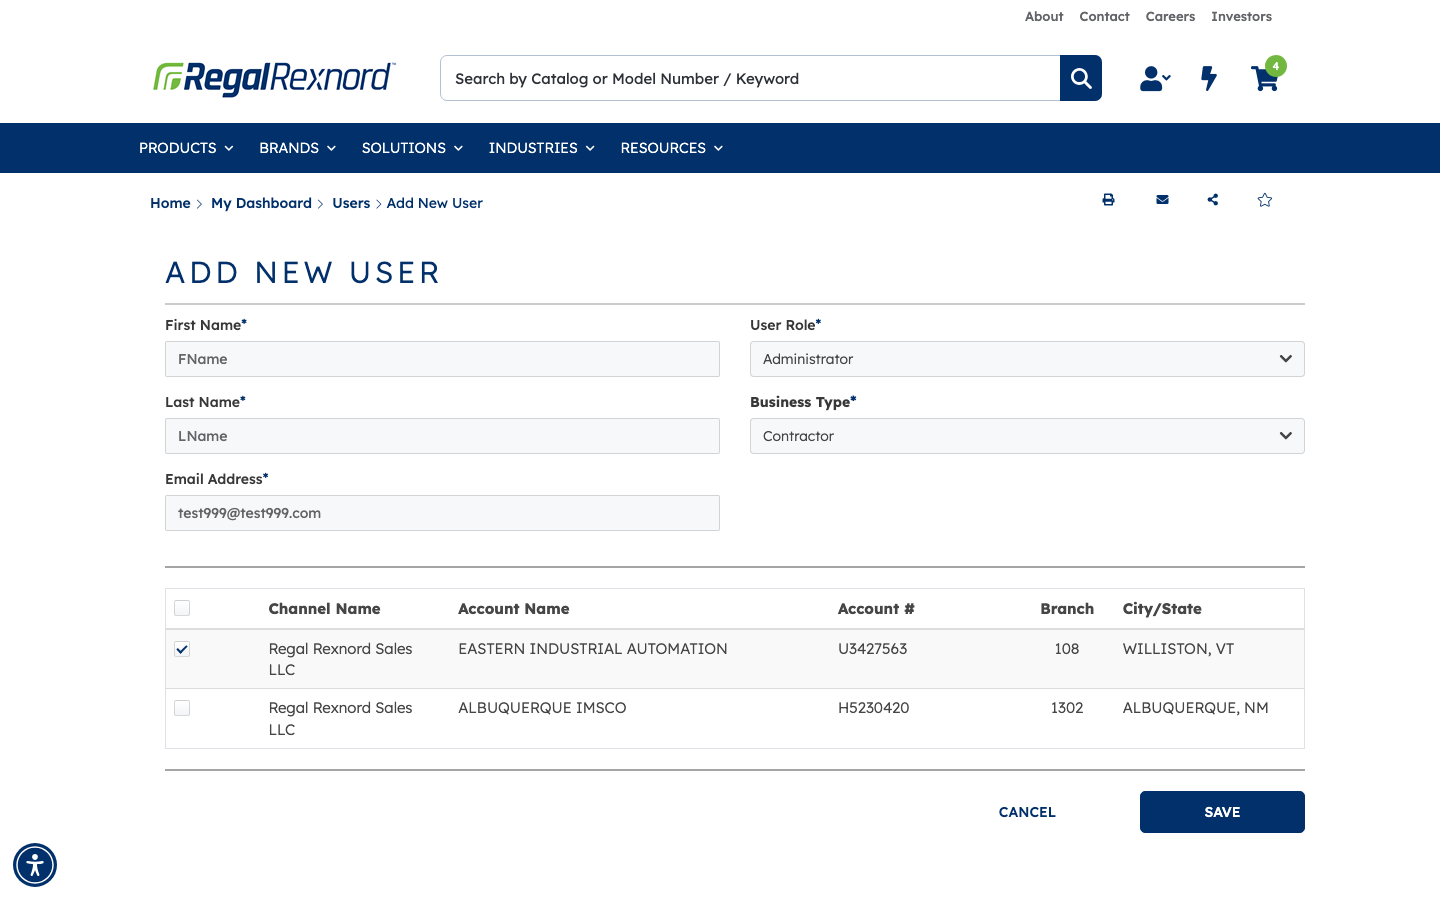
In the accounts table, tick the checkbox for the first account — U3427563 / EASTERN INDUSTRIAL AUTOMATION, Branch 108, Williston, VT. This controls which accounts the new user will be able to order and view information against.
Step 7 — Save the new user
Click SAVE. The /api/cxa/RglbUserManagement/AddUser call returns success and the browser is redirected back to the Users list at https://uatwww.rrxpreview.com/accountmanagement/users.
Verification
Observed behaviour: the new user does not appear in the Users grid immediately. The grid is populated from /api/cxa/RglbUserManagement/GetUsers, which returned 71 records both before and after the save, and only ever returns users whose status is Pending or Active. A user who has just been added is in Verification status until they click the link in their verification email, so they are not listed yet. This is expected behaviour, not a failure.
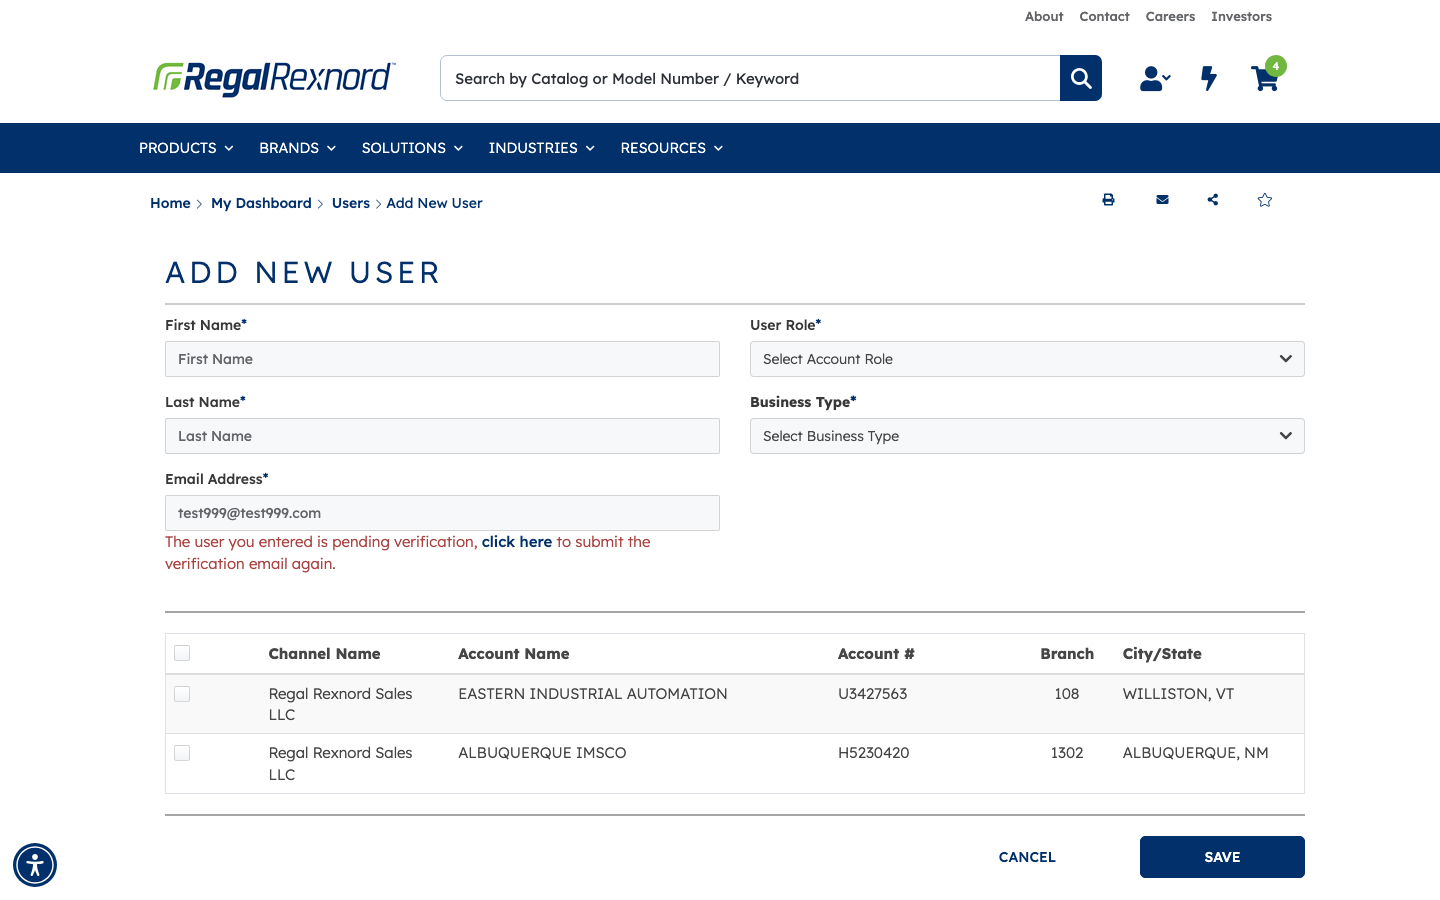
To confirm the record was created, reopen the Add New User form and re-enter test999@test999.com in the Email Address field. The form now returns the validation message "The user you entered is pending verification, click here to submit the verification email again." — confirming the user exists and is awaiting email verification. The click here link resends the verification email.
Summary
| # | Step | Expected result | Result |
|---|---|---|---|
| 0 | Sign in and select account U3427563 | Dashboard shows Welcome Copilot Agent and a Users entry in the Account nav | ✅ |
| 1 | Open the Users page | Users grid lists existing users for account U3427563 | ✅ |
| 2 | Filter for test999 | No Rows Found — the user does not already exist | ✅ |
| 3 | Click ADD NEW | Add New User form opens at /account-management/users/add-new-user | ✅ |
| 4 | Enter FName / LName / test999@test999.com | Values accepted, no duplicate-email validation shown | ✅ |
| 5 | Select Administrator and Contractor | Both dropdowns show the selected values | ✅ |
| 6 | Tick account U3427563 in Assign Accounts | Checkbox selected | ✅ |
| 7 | Click SAVE | AddUser API returns success and redirects to the Users list | ✅ |
| 8 | Re-check the Users grid | New user not yet listed — GetUsers returns only Pending/Active users, and the new user is in Verification status | ✅ (expected) |
| 9 | Re-enter the email on the Add New User form | Validation reads "The user you entered is pending verification…", proving the record was created | ✅ |
Note for testers: step 8 is the one place where the original test instructions and the actual system behaviour differ. The instructions expected the new user to appear in the Users list straight away; in practice a newly added user is only listed once they have completed email verification. Verify creation using the duplicate-email check (step 9) or the pending-user widget instead.